Since restarting my miniature painting over a year ago, I’ve been using a technique to quickly paint and finish the majority of the few hundred that I’ve painted – called “The Dip”. For details, I point you to the Chicago Skirmish group page on the subject, but in a nutshell:
- Basecoat (and possibly highlight) in the colors you want.
- Get a can of Minwax “Tudor” Polyshades stain. (Available at Ace Hardware in Midwest US)
- Using a throwaway brush, brush on the stain to the mini.
- Using paper towels or another brush, sop up the pools of stain.
- Wait for it to dry for 48 hours, then hit it with a matt varnish (like Testors Dulcote or Liquidtex Acrylic Matt Varnish.
- Base and Play!
- Once I open that can of Minwax, I’ve got about a 4 to 6 month deadline to finish the can. Well, with my painting rate of about 20 to 30 figures a month, I can’t do that. I end up getting to about halfway through the can and then the gloops happen. It becomes a waste of a can.
The “gloops” is when exposure to air (either from the process of doing the dip or just the fact that when I close the can, air is trapped inside) starts the polyurethane/stain to harden/thicken. It’s a terminal condition. And I end up wasting about half the can, which I don’t like!
- It’s rough on bright colors. I don’t like dipping on white or bright colors because it darkens them and dirties them. I can brush-dip around those areas, but then I have two very distinct looks on the mini. I don’t like that so much
- Undercoat with black (or white)
- For each color you’re going to put on the mini, have two or three shades – dark, midtone (the color you want) and a highlight. If you’re in a hurry like me with some of the grunt figures, skip the highlight except for the color most visible.
- Paint the darkest shade, then the midtone, then the highlight. (If undercoated in white, make sure that dark shade gets all the corners.
- Matt varnish, base and play!
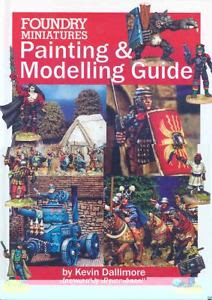
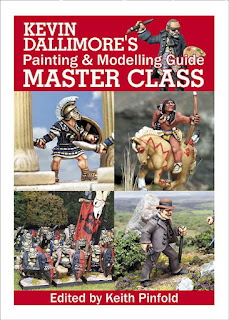
That’s the basics and there are a few tutorials and pages that demonstrate this (this tutorial is basically the Dallimore method), although the best resource seems to be two very hard-to-find books written by Kevin Dallimore himself:
Both books are out of print and the prices on the Intertubes is just crazy! (Although I’m not going to lie, my Google-fu and shopping-fu did snag me a copy of the left (first) book “Foundry Guide” for $30. W00t!)
With over 140 Ral Partha figures to complete this summer, and my increasing number of both 15mm and 25mm armies for full-on campaign wars, I’ve been looking for other ways to make my painting more efficient and look better. I’m going to explore this method, much as I did the “Dip” method for the past year. I may come back to the dip someday, it had its uses and I might find a way around the drying/gloop issue.
Pictures are coming, I promise!


Sorry if I sound like a noob, but I'm a noob. What is the exact effect of the dip?
I paint just for fun. I clean the figure and base coat it, than paint with arts and crafts paint I buy by the tube, adding 1 color at a time as it dries. When the figure is all painted, then I put a clear coat on it and it is done. The devil for me is in the details, and my wife is just full of tricks and hints about achieving details.
@Ripper X – in a nutshell, it's a very thorough and quick shading technique that adds depth to a simple basecoat and looks good for tabletop. The link at the first paragraph has a really good overview and pictures of the effect. The "Minwax Dip" vs. the "Army Painter Dip" debate is similar to "OSRIC" vs. "S&W" vs. "LL" debate of ye-olde-clonies. Different approaches to doing something.
I paint for fun too, and to learn new things and try to paint a lot of minis so they can go on the table and have big battles. I paint with the *gasp* craft paints you get for $1.50 at Hobby Lobby or Walmart.
That buck fifty stuff is exactly what I use! They even make some nice metallics for a little bit more money which is still a lot cheaper then oil based paints.
For shading, or getting that "Lived in look" I just give it a once over with my dirty water, it is subtle but you can tell when I don't do it. Back in the day I'd spend way to much money, and not even come close to achieving the looks that I do now.